Fried garlic is the culinary superhero we never knew we needed, swooping in to save our dishes from the clutches of blandness. Just imagine those golden, crispy bits of garlic, bringing a crunch that dances on your taste buds like a well-rehearsed ballet. The aroma wafts through the kitchen, wrapping you in a warm embrace, promising flavor explosions with every bite.
I remember the first time I made fried garlic, thinking I was just amplifying a simple dish. Little did I know that my friends would end up fighting over the last morsels! It’s perfect for elevating salads, pastas, or even just as a snack by itself. Trust me; once you’ve tasted it, you’ll be dreaming about fried garlic at dinner parties and cozy family gatherings.
Why You'll Love This Recipe
- Fried garlic requires minimal ingredients and effort while delivering maximum flavor impact
- The crispy texture adds an irresistible crunch to any dish
- You can easily make a big batch and store it for later use
- Its versatility means it pairs beautifully with a variety of cuisines and dishes
I once made this for a potluck, and let’s just say it was the first dish to disappear—friends were asking for the secret recipe before I even left the party!
Essential Ingredients
Here’s what you’ll need to make this delicious dish:
Fresh Garlic: Choose plump cloves for optimal flavor; avoid any sprouting or soft ones for that perfect crunch.
Vegetable Oil: A neutral oil like canola or sunflower works best; you want something that can handle high heat without burning.
Salt: A pinch enhances the flavor; don’t skip this step unless you’re feeling rebellious!
Optional Herbs: Try adding fresh herbs like parsley or thyme after frying for an aromatic twist.
The full ingredients list, including measurements, is provided in the recipe card directly below.

How to Make Fried Garlic
Prepare the Garlic: Start by peeling your garlic cloves—about 10-15 should do depending on your craving levels. Slice them thinly; this ensures they fry evenly and get that golden hue.
Heat Your Oil: In a medium saucepan over medium heat, pour enough oil to submerge the garlic slices halfway. Heat until shimmering but not smoking—this should take about 5 minutes.
Add Garlic Slices: Carefully drop those lovely sliced garlic pieces into the hot oil. Stir gently with a wooden spoon and keep an eye on them; they will turn golden brown quickly—about 2-3 minutes.
Watch Closely!: As they start to turn golden brown, reduce the heat slightly to prevent burning. Remove them from heat when they’re perfectly crisp—savor that intoxicating aroma!
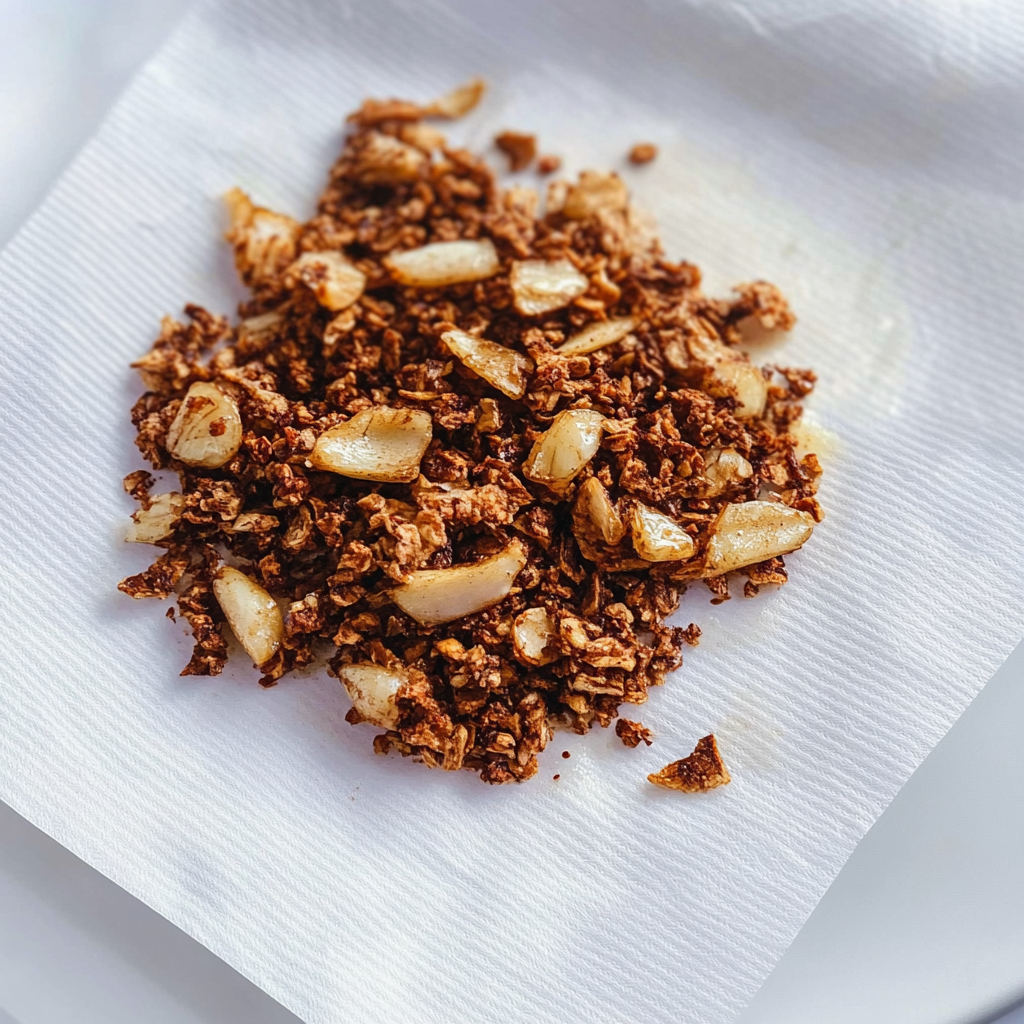
Drain and Season: Use a slotted spoon to transfer your fried garlic onto paper towels, allowing excess oil to drain away. Sprinkle immediately with salt while they’re still hot—this is where magic happens!
Store or Serve!: If you’re not using them right away (good luck with that), place them in an airtight container once cooled completely. They’ll stay fresh for about two weeks—but trust me, they won’t last that long!
Now you are armed with everything you need to create your very own fried garlic masterpiece! Enjoy its delightful crunch and flavor in all your favorite dishes!
You Must Know
- Fried garlic adds a delightful crunch and an irresistible aroma to any dish
- It enhances flavors beautifully, making even the simplest recipes extraordinary
- The texture transforms meals, giving them a restaurant-quality finish that is sure to impress family and friends
Perfecting the Cooking Process
Start by heating oil and adding sliced garlic until golden brown, then remove promptly to avoid burning. This sequence ensures optimal flavor and prevents bitterness.
Add Your Touch
Experiment with seasonings like paprika or herbs while frying garlic for a unique twist. You can also mix in nuts for added crunch and flavor.
Storing & Reheating
Store fried garlic in an airtight container at room temperature for up to a week. Reheat gently on low heat to maintain its crispy texture.
Chef's Helpful Tips
- For perfect fried garlic, slice uniformly for even cooking and avoid overcrowding in the pan
- Use fresh garlic for the best flavor, and remember to keep a close eye while frying; it can go from golden to burnt fast!
A friend once told me that frying garlic at home is like inviting happiness into your kitchen. The smell wafted through my house during our dinner party, making everyone instantly nostalgic for their grandmother’s cooking.
FAQ
Can I use pre-minced garlic for frying?
Pre-minced garlic may not achieve the same delightful crunch as fresh slices.
How do I know when the garlic is done frying?
The garlic should turn golden brown; remove it promptly to prevent burning.
What dishes pair well with fried garlic?
Fried garlic complements pasta, soups, salads, and even roasted vegetables beautifully.

Fried Garlic
- Total Time: 15 minutes
- Yield: Makes about 1 cup of fried garlic 1x
Description
Fried garlic is a culinary gem that transforms any dish with its delightful crunch and rich flavor. This simple yet impactful ingredient elevates salads, pasta, and more, making it a must-have in your kitchen.
Ingredients
- 10 cloves fresh garlic, thinly sliced
- 1 cup vegetable oil (canola or sunflower)
- 1/2 tsp salt (to taste)
- Optional: Fresh herbs like parsley or thyme for garnish
Instructions
- Peel and thinly slice the garlic cloves to ensure even frying.
- Heat the vegetable oil in a medium saucepan over medium heat until shimmering.
- Add the sliced garlic to the hot oil and stir gently for about 2-3 minutes until golden brown.
- Immediately remove from heat to prevent burning and transfer the garlic to paper towels using a slotted spoon. Sprinkle with salt while hot.
- Allow to cool completely before storing in an airtight container at room temperature for up to one week.
- Prep Time: 10 minutes
- Cook Time: 5 minutes
- Category: Condiment
- Method: Frying
- Cuisine: Global
Nutrition
- Serving Size: 1 tablespoon (9g)
- Calories: 45
- Sugar: 0g
- Sodium: 15mg
- Fat: 4.5g
- Saturated Fat: 0.5g
- Unsaturated Fat: 4g
- Trans Fat: 0g
- Carbohydrates: 2g
- Fiber: 0g
- Protein: 0g
- Cholesterol: 0mg