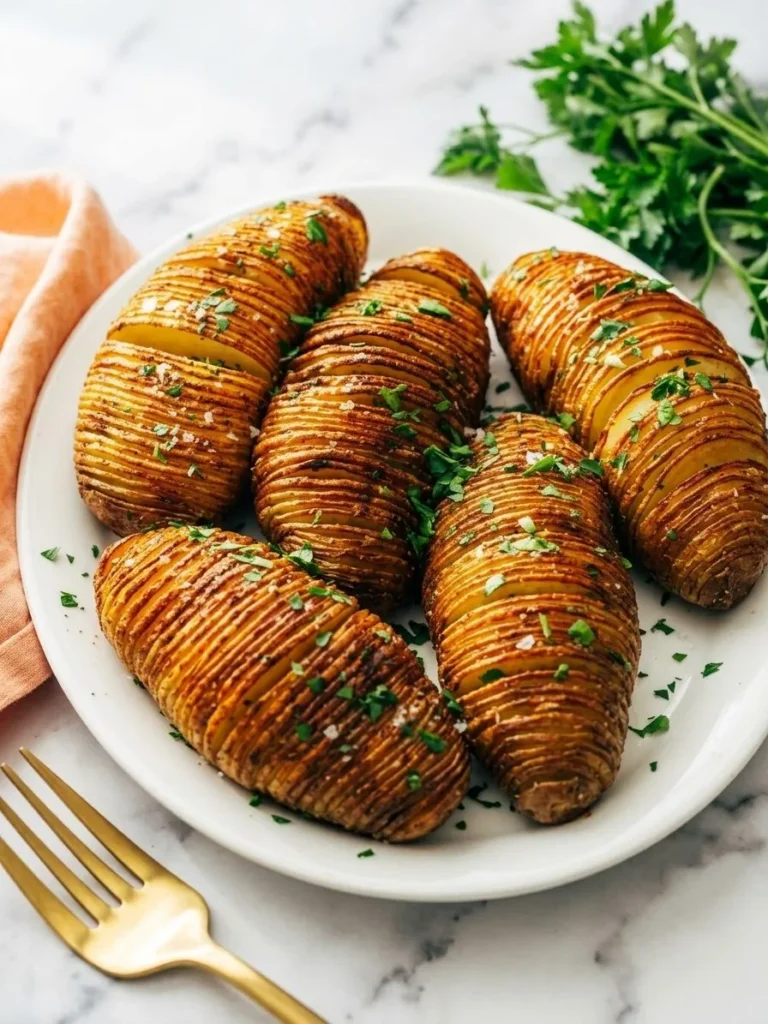
There’s a quiet magic in the kitchen at Fitfoodfunwithann, especially when crafting Hasselback Potatoes. As I slice into each russet potato, anticipation builds—each careful cut reveals the potential for crispy edges and tender centers, balancing textures that never fail to impress. The aroma of garlic and melted butter turns the kitchen into a haven of comfort and warmth, perfect for sharing with friends and family on a cozy evening.
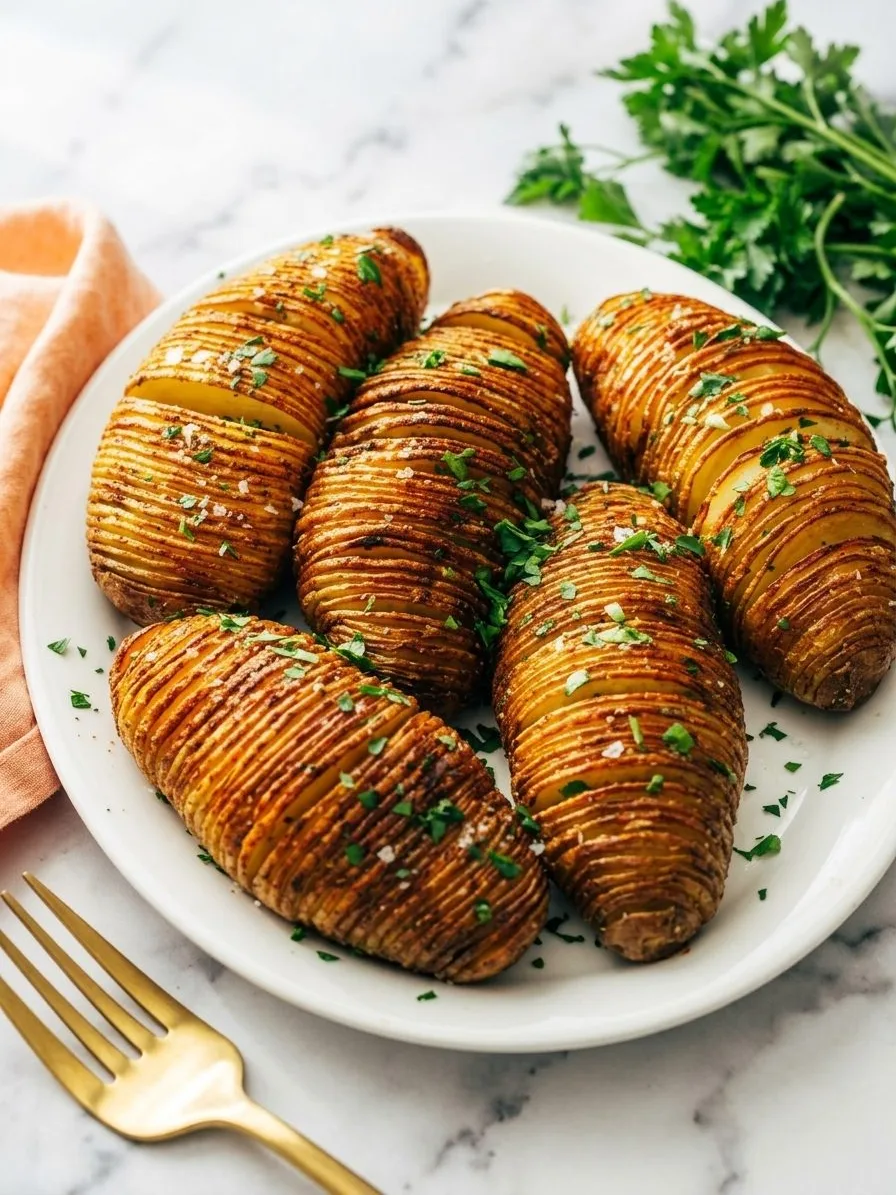
Using chopsticks as guides while slicing ensures the ideal depth for each cut, allowing the slices to fan out beautifully during baking. This method not only creates a stunning presentation but also maximizes flavor.
Building Flavor: The Essentials
- Russet Potatoes: These are my go-to for Hasselback potatoes. They’re starchy and bake up beautifully, with a fluffy interior and that coveted crispy exterior.
- Olive Oil: A staple in my kitchen, olive oil is brushed over the potatoes to help them crisp up while adding subtle richness.
- Kosher Salt: This enhances the natural flavors, ensuring every bite is savory and satisfying.
- Salted Butter: Adding depth and a luxurious buttery finish, it’s melted and infused with garlic and Italian seasoning for extra flavor.
- Garlic: A single grated clove is all it takes to transform the butter into a deliciously aromatic delight.
- Italian Seasoning: This blend adds a hint of herby complexity, perfectly complementing the other flavors.
- Key Technique: Chopstick Guide: By placing chopsticks alongside the potatoes, you prevent slicing too far. This technique allows the potatoes to fan out and become delightfully crisp.
- Flaky Sea Salt: A sprinkle of this at the end not only looks stunning but gives an extra burst of texture and flavor.
- Parsley or Chives: These fresh herbs brighten the dish, offering a pop of color and a hint of freshness.
- Other Toppings: Feel free to let your creativity shine with additions like sour cream, cheese, or crispy bacon for an extra special touch.
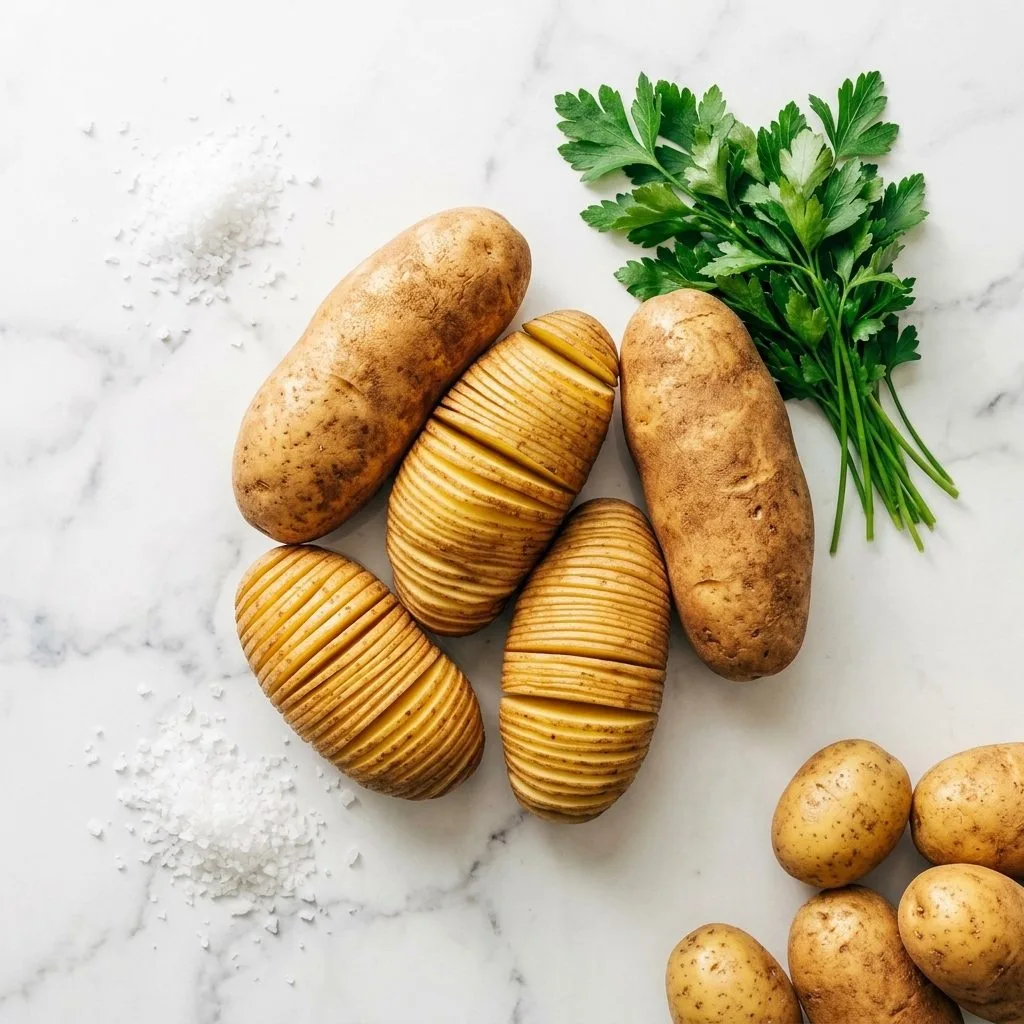
Bringing Magic to the Table
Transforming humble russet potatoes into a show-stopping dish takes around one hour and thirty minutes, and it’s worth every moment. Here’s how to create these gorgeous Hasselback Potatoes, step by step.
- Prep the Oven: Preheat your oven to 450°F. This high heat is your ally in achieving those crispy edges and fluffy centers.
- Clean the Potatoes: Wash and thoroughly dry the potatoes. Clean skins lead to crispier textures—a combination you’ll savor with every bite.
- Slice with Care: Place two chopsticks on either side of a potato. Slice into 1/8-inch sections, being mindful not to cut all the way through—this is where your chopstick guides shine. Glimpses of white starchy flesh will tease what’s to come.
- Oil Up: Arrange the potatoes on a parchment-lined baking sheet. Brush with 1 tablespoon of olive oil, ensuring each slice is well-coated. The oil will encourage a golden hue as they bake.
- First Bake: Bake for 60 minutes. The aroma of roasting potatoes will fill the air as the slices begin to fan out, separating invitingly.
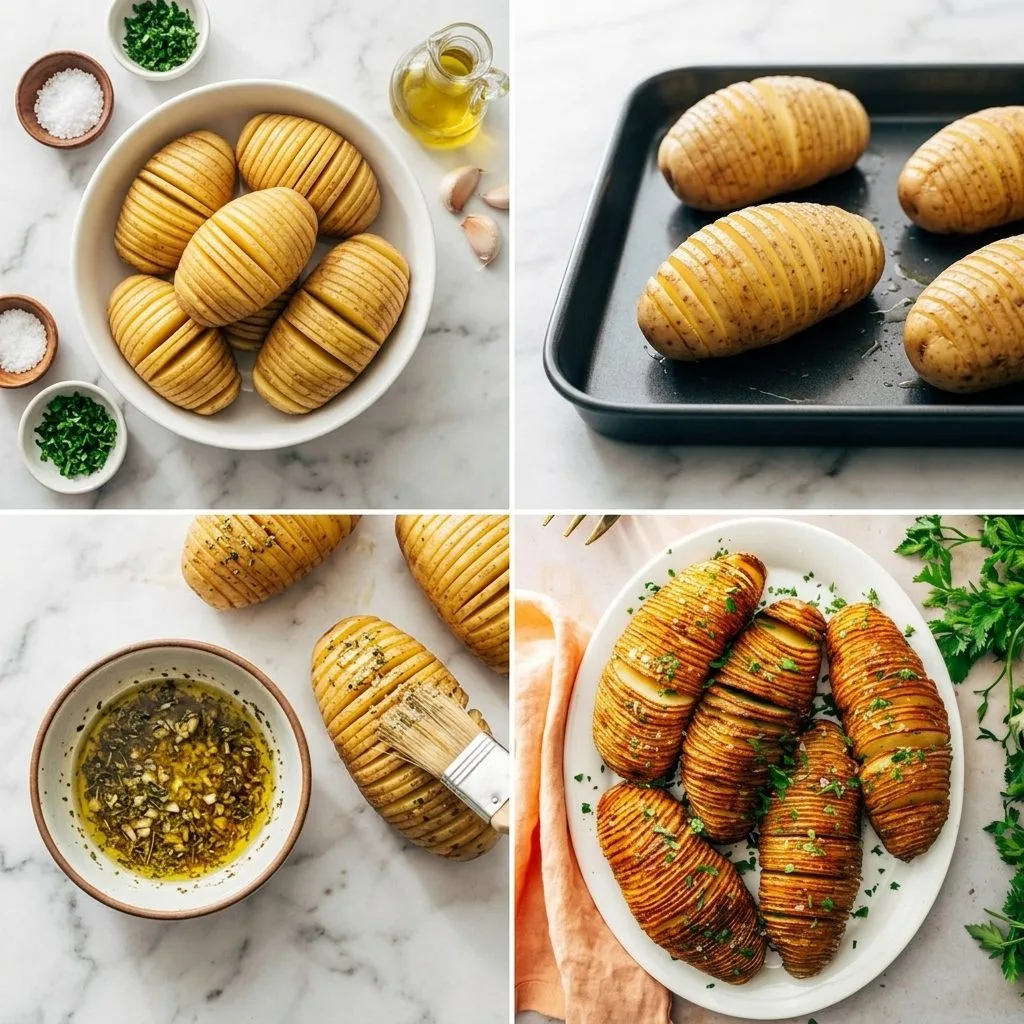
- Second Oil and Season: Remove from the oven, brushing with the remaining tablespoon of olive oil. Sprinkle with ¾ teaspoon of kosher salt. Listen to the sizzle as oil meets hot potato.
- Final Bake: Return to the oven for another 10 to 15 minutes until they’re a rich golden brown, crispy, and easily pierced with a paring knife. The edges should audibly crunch as you tap them.
- Flavor the Butter: While the potatoes finish, melt the butter in a small saucepan. Stir in grated garlic and Italian seasoning, then remove from heat. Your kitchen will be filled with the seductive scent of garlic and herbs.
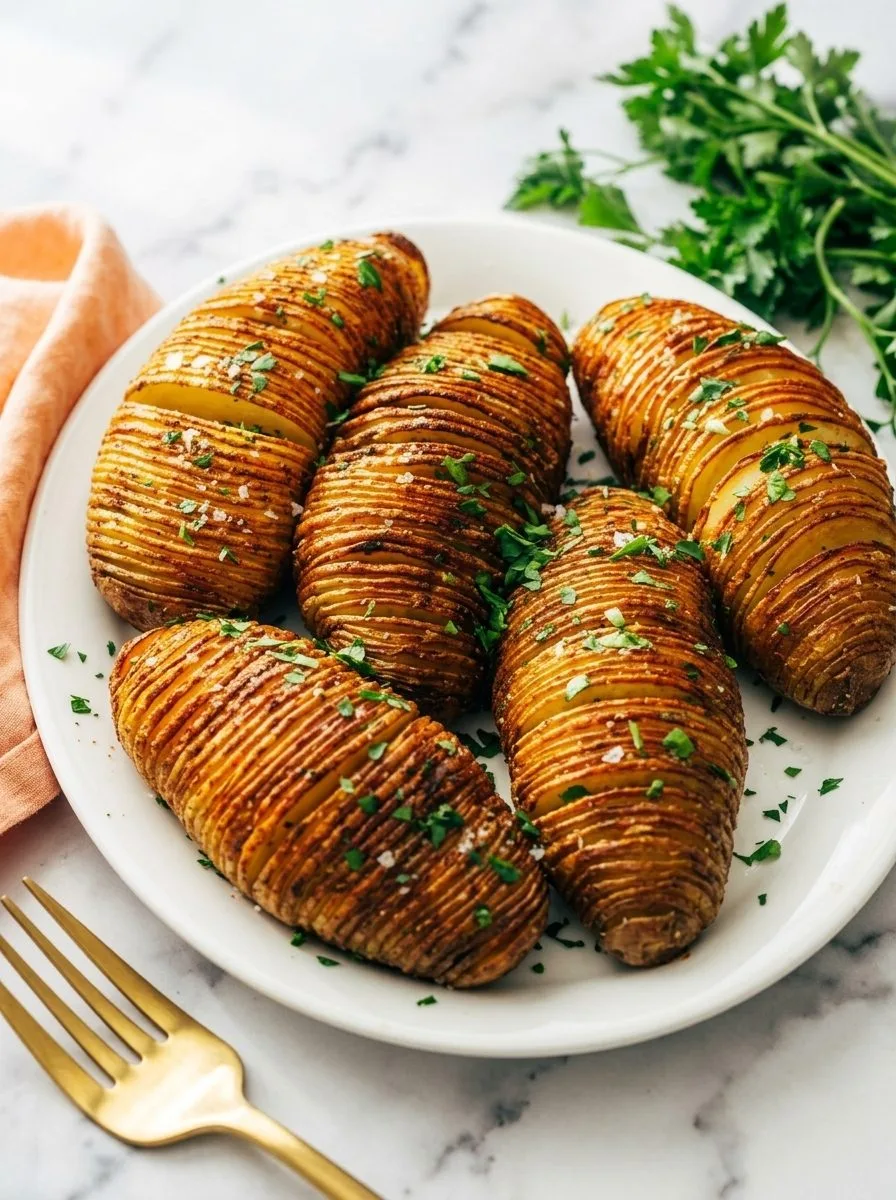
- Finish with Flair: Once baked, brush the potatoes with the melted seasoned butter, ensuring the glorious flavors reach every crevice. Sprinkle flaky sea salt and garnish with parsley or chives for a fresh, herbaceous note.
Take a moment to admire your culinary art before diving in. Enjoy every crisp, buttery, and fragrant bite!
Creative Twists and Customization
Hasselback Potatoes are a playground for creativity, allowing even the most modest kitchen to shine. Here are some delightful tweaks to make this classic dish your own:
- Golden Perfection: Swap out russet potatoes for Yukon Golds or red potatoes. They each bring a distinct flavor and texture—Yukon Golds offer a buttery nuance, while reds introduce a subtly sweet earthiness.
- Petite Pleasures: If you’re using smaller potatoes or different varieties, adjust the roasting time accordingly. Keep an eye out for those beautifully crispy edges and soft centers, and remember, a paring knife should glide easily through when done.
- Guide Alternatives: No chopsticks? No problem! Get creative with what you have—wooden skewers or even thick rubber bands around a cutting board can help you achieve those perfect fan-like slices.
Playing around with these variations can help you discover your favorite way to enjoy this elegant yet homey dish. Dive in, and happy experimenting—I’d love to hear what combinations you try in the comments!
Keeping the Magic Alive
Once you’ve savored those golden, crispy Hasselback Potatoes, you might find yourself with a few delightful leftovers. To keep their magic alive, let them cool completely before sealing them in an airtight container. This little trick prevents condensation and sogginess. Store them in the fridge for up to three days. While these beauties don’t freeze well—freezing can alter that perfect texture—they’re just as delightful when enjoyed fresh.
Reheating is a breeze and helps you recapture that crispy charm. Preheat your oven to 400°F and place the potatoes on a baking sheet. A quick 10-15 minute warm-up will do the trick, restoring their crisp edges and fluffy insides without drying them out. Avoid microwaving if you can—you’ll want to keep those inviting textures just as you remember them. Enjoy every last bite, bringing a little cozy comfort back to your table.
Improve the Experience with Perfect Pairings
As the golden warmth of Hasselback Potatoes fills your kitchen, you might find yourself pondering the perfect sides and garnishes to transform this dish into a memorable meal. Here’s a sprinkle of inspiration to guide your culinary adventure.
Sides to Complement
- Mixed Green Salad: The fresh, crisp greens balance the rich, buttery potatoes with their vibrant crunch. A simple vinaigrette adds just the right amount of tangy brightness.
- Roasted Vegetables: The earthiness of roasted carrots and Brussels sprouts pairs beautifully with the savory potatoes, creating a harmonious blend of textures and flavors.
- Grilled Chicken: The juicy, savory notes of grilled chicken offer a lovely contrast to the buttery and crispy potatoes, making for a satisfying and well-rounded meal.
Garnishes to Enhance
- Chives: Their delicate onion flavor enhances the savory profile, adding a fresh and colorful touch.
- Crispy Bacon: A sprinkle of crispy bacon delivers a smoky contrast, adding depth and a delightful crunch to each bite.
- Sour Cream: Its creamy, tangy goodness complements the potatoes’ crispiness, providing a cool, luscious finish.
As you gather around the table with this dish, feel the warmth of shared moments and the joy of comfort food crafted with love. What pairings will transform your Hasselback Potatoes into a moment of kitchen magic tonight?
Hasselback Potatoes
Ingredients
Method
- Preheat the oven to 450°F.
- Wash and dry the potatoes.
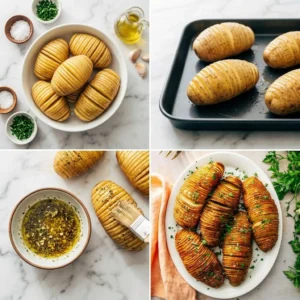
- Place two chopsticks* along the sides of a potato: these will act as guides to prevent cutting all the way through. Slice a potato into 1/8th-inch slices, being careful not to go all the way through to the bottom using the guides. Pay special attention to the ends of the potatoes that need a shallow cut: the guides won’t help here! Repeat for each potato.
- Place the potatoes on a parchment or aluminum-foil lined baking sheet. Brush the potatoes with 1 tablespoon of the olive oil.
- Bake for 60 minutes, until the potato slices are starting to separate. Remove the tray from the oven and brush the potatoes with the remaining 1 tablespoon olive oil. Evenly sprinkle with the 3/4 teaspoon kosher salt.
- Return the potatoes to the oven and bake for 10 to 15 minutes (or less for smaller potatoes), until crispy, lightly browned, and easily pierced with a paring knife. Meanwhile, in a small saucepan, melt the butter. Stir in the garlic and Italian seasoning and remove from the heat.
- When the potatoes are done, remove them from the oven and brush them with the melted seasoned butter, making sure to evenly distribute the seasonings that sink to the bottom. Gently fan the potatoes with one hand while sprinkling a bit of flaky sea salt over the potatoes. Garnish with parsley or chives and serve immediately.