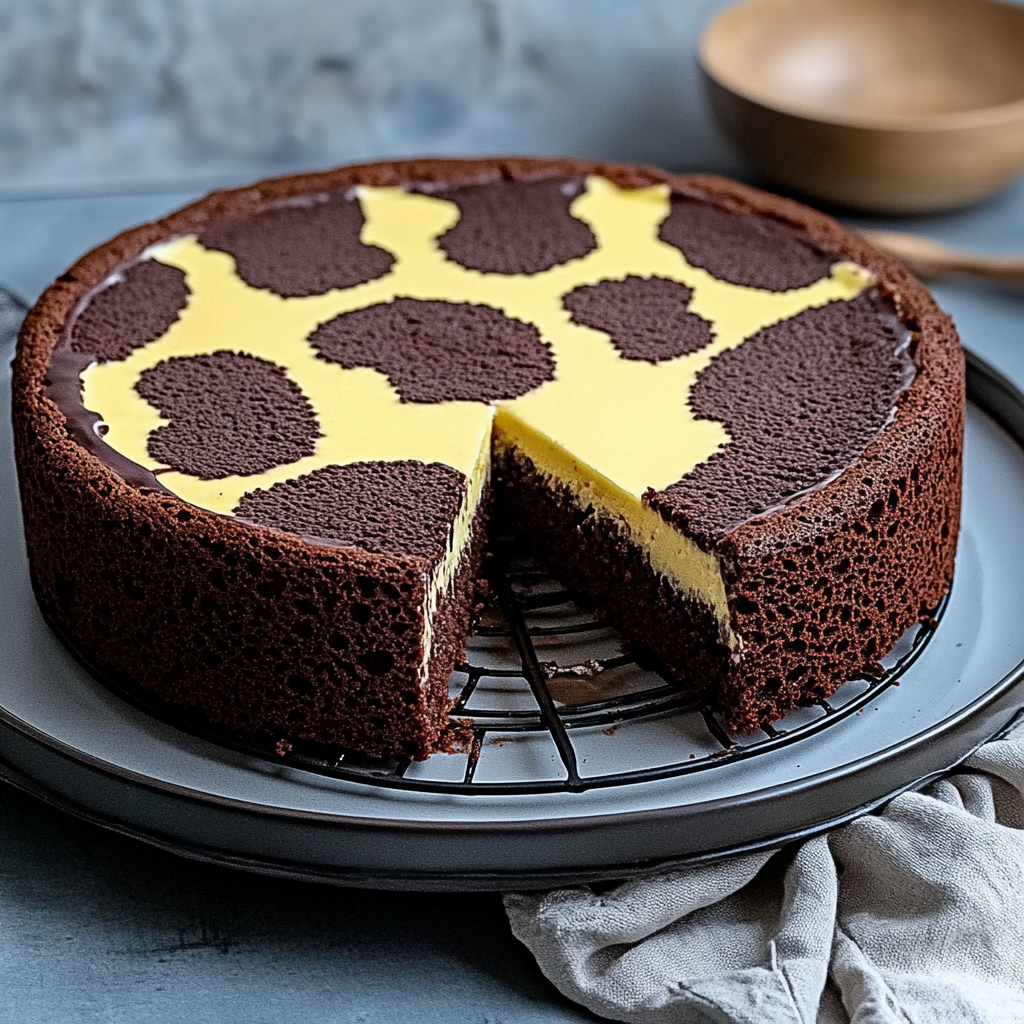
There’s something magical about the rich, decadent layers of Russian Chocolate Cake that makes your mouth water just thinking about it. As you slice into this beauty, you reveal dark, moist chocolate cake that practically begs for a rich frosting to crown it. The aroma wafts through the kitchen, enveloping you in a warm hug—it’s an invitation to indulge and celebrate.

This cake is not just a dessert; it’s a ticket to nostalgia. I remember baking my first Russian Chocolate Cake for my best friend’s birthday. The joy on her face as she took the first bite was priceless! Perfect for birthdays, anniversaries, or just because you deserve a treat, this cake promises to deliver an unforgettable flavor experience.
Why You'll Love This Recipe
- This Russian Chocolate Cake is simple to prepare, making it perfect for bakers of all skill levels
- Its deep chocolate flavor will satisfy even the most discerning chocolate lovers
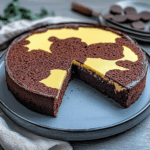
- The stunning layers create an impressive visual centerpiece for any occasion
- Versatile enough for everyday enjoyment or special celebrations, this cake fits every scenario
I’ll never forget the time I baked this cake for my mother-in-law’s birthday and she declared it “the best thing since sliced bread”—and she doesn’t say that lightly!
Essential Ingredients
Here’s what you’ll need to make this delicious dish:
All-Purpose Flour: Use high-quality flour for the best structure and texture in your cake.
Cocoa Powder: Choose unsweetened cocoa powder for deep chocolate flavor without added sugar.
Sugar: Regular granulated sugar works wonders in balancing the bitterness of the cocoa.
Baking Soda: This ingredient creates lift and lightness in the cake.
Salt: A pinch enhances overall flavor by counteracting sweetness.
Eggs: Use large eggs at room temperature to help bind ingredients seamlessly.
Buttermilk: This adds moisture and tenderness to your chocolate cake.
Vegetable Oil: It keeps the cake moist and luscious—no one wants a dry dessert!
Vanilla Extract: Pure vanilla extract elevates the flavor profile with its aromatic essence.
Chocolate Frosting: Homemade or store-bought; choose your favorite for that decadent finish.
The full ingredients list, including measurements, is provided in the recipe card directly below.
How to Make Russian Chocolate Cake
Preheat your oven to 350°F (175°C). Grease two 9-inch round cake pans with nonstick spray and line them with parchment paper. This sets you up for easy removal later!
Mix Dry Ingredients: In a large bowl, whisk together flour, cocoa powder, baking soda, and salt until well combined. This ensures even distribution of flavors in your batter.
Combine Wet Ingredients: In another bowl, beat together eggs, sugar, buttermilk, vegetable oil, and vanilla extract until smooth. The mixture should be creamy and inviting.
Add Dry to Wet: Gradually add the dry ingredients into the wet mixture while stirring gently until just combined. Be careful not to overmix; we want a tender crumb.
Bake the Cakes: Divide the batter evenly between the prepared pans and bake for 30-35 minutes or until a toothpick inserted comes out clean. Your kitchen will smell heavenly during this time!
Cool and Frost: Allow cakes to cool in their pans for 10 minutes before transferring them onto wire racks. Once cooled completely, frost generously with chocolate frosting between layers and on top.
You’re now on your way to impressing family and friends with an irresistible Russian Chocolate Cake that will have everyone asking for seconds!
You Must Know
- This Russian Chocolate Cake is rich and decadent, perfect for impressing guests
- The combination of dark chocolate and a fluffy texture creates a delightful indulgence
- With the right techniques, you can achieve a cake that is both moist and flavorful, making it a true showstopper
Perfecting the Cooking Process
Start by melting the chocolate and butter together for a rich base. While it cools, whisk eggs and sugar until fluffy. Combine all ingredients in a specific order to ensure even texture and flavor throughout.
Add Your Touch
Feel free to swap in different chocolates or add espresso powder for depth. You can also experiment with flavored extracts like vanilla or almond to create your signature twist on this classic cake.
Storing & Reheating
Store the cooled cake in an airtight container at room temperature for up to three days. For longer storage, refrigerate for up to a week or freeze for up to three months. Reheat individual slices gently in the microwave.
Chef's Helpful Tips
- For the best flavor, use high-quality chocolate as it significantly enhances the overall taste of your cake
- Make sure all ingredients are at room temperature before mixing for optimal blending
- Always allow the cake to cool completely before frosting to prevent melting
Baking this Russian Chocolate Cake reminds me of my grandmother’s kitchen, where sweet aromas filled the air, and laughter was abundant. Friends would gather just to enjoy her creations, making every bite feel like a warm hug.
FAQ
What makes Russian Chocolate Cake unique?
The use of rich dark chocolate gives it a distinct flavor that’s both intense and delightful.
Can I use cocoa powder instead of chocolate?
Yes, but be sure to adjust liquid ingredients accordingly for moisture balance.
How do I know when the cake is done baking?
Insert a toothpick into the center; it should come out clean or with a few moist crumbs attached.
Russian Chocolate Cake
- Total Time: 55 minutes
- Yield: Approximately 12 servings 1x
Description
Russian Chocolate Cake is a delightful dessert that captivates with its rich, moist layers of dark chocolate, complemented by a luscious frosting. Perfect for any celebration or simply as a treat for yourself, this cake brings together nostalgia and indulgence in every bite. Its elegant presentation makes it an impressive centerpiece for birthdays, anniversaries, or gatherings with friends.
Ingredients
- 2 cups all-purpose flour
- 3/4 cup unsweetened cocoa powder
- 2 cups granulated sugar
- 1 tsp baking soda
- 1/2 tsp salt
- 3 large eggs (room temperature)
- 1 cup buttermilk (room temperature)
- 1 cup vegetable oil
- 2 tsp pure vanilla extract
- 1 cup chocolate frosting (homemade or store-bought)
Instructions
- Preheat oven to 350°F (175°C). Grease two 9-inch round cake pans and line with parchment paper.
- In a large bowl, whisk together flour, cocoa powder, baking soda, and salt.
- In another bowl, beat eggs and sugar until fluffy. Add buttermilk, vegetable oil, and vanilla; mix until smooth.
- Gradually combine dry ingredients into the wet mixture until just mixed; avoid overmixing.
- Divide batter between prepared pans and bake for 30-35 minutes or until a toothpick comes out clean.
- Cool cakes in pans for 10 minutes before transferring to wire racks. Once cooled completely, frost generously.
- Prep Time: 20 minutes
- Cook Time: 35 minutes
- Category: Dessert
- Method: Baking
- Cuisine: Russian
Nutrition
- Serving Size: 1 slice (100g)
- Calories: 370
- Sugar: 45g
- Sodium: 200mg
- Fat: 18g
- Saturated Fat: 2g
- Unsaturated Fat: 14g
- Trans Fat: 0g
- Carbohydrates: 52g
- Fiber: 3g
- Protein: 5g
- Cholesterol: 50mg